A good dorm desk setup starts with three fixed numbers: 24–30 inches of desk depth, a chair that lets your feet sit flat, and a monitor (or laptop riser) with its top third at eye level. Get those three right, layer in warm lighting and hidden cable management, and everything else — style, storage, decor — falls into place around them.
Your dorm desk setup is about to become the most-used piece of real estate in your entire room, and most guides on this topic still tell you to “choose a desk that fits your space” without ever saying what that actually means in inches. That’s the gap we’re closing today.
You’ve scrolled through fifty Pinterest boards of gorgeous, sun-drenched dorm desks with zero cords, zero clutter, and zero explanation of how anyone actually studies there. Then you get to your real dorm — a 10×12 box, one outlet behind the bed, a desk bolted to the wall — and none of it translates. That gap between the inspiration photo and the room you’re actually standing in is exactly what causes decision paralysis, and it’s exactly what we’re going to fix.

Below is a foolproof, step-by-step blueprint — the same one I’d use walking a client through their first apartment desk, scaled down for dorm-sized budgets, outlets, and square footage. Real dimensions. Real formulas. No vague “make it your own” filler.
In This Guide
- The Dorm Desk Setup Rules Nobody Explains
- Room-by-Room Dorm Desk Setup Breakdowns
- Choosing Your Desk: Size, Shape & Orientation
- The Ergonomics Formula: Chair, Monitor, Posture
- Lighting Strategy for Your Dorm Desk Setup
- What to Put on Your Desktop
- Storage That Doesn’t Eat Your Desk Space
- Cable & Power Management
- Shop by Budget Tier
- Anti-Patterns: Common Setup Mistakes
- The Designer’s Cheat Sheet
- FAQ
The Dorm Desk Setup Rules Nobody Explains

Every functional dorm desk setup follows three non-negotiable measurements — 24 to 30 inches of desk depth, a chair height that keeps your knees at roughly 90 degrees with feet flat on the floor, and a monitor or laptop-riser height that puts the top third of the screen at eye level, about 15–20 degrees below your straight line of sight.
Why these numbers matter
This isn’t arbitrary. Desk depth under 24 inches forces your laptop and notebook to overlap, which is why so many “cute” dorm desks look great in photos and feel cramped in real life. Chair height that’s off by even two inches changes the pressure on your lower back over a three-hour study session. And screen height is the single biggest cause of the neck and shoulder tension students blame on “bad posture” when it’s really just a monitor sitting six inches too low.
Before you buy a single item, measure your actual desk footprint and the distance from the desk to the nearest outlet. This one step prevents 80% of the “it looked bigger online” returns.
Room-by-Room Dorm Desk Setup Breakdowns

Not every dorm gives you the same starting point, so here’s how the formula above adapts to the three layouts you’re most likely dealing with.
The Standard Single or Shared Dorm Room
Most fixed, wall-mounted or built-in desks fall between 18 and 22 inches deep — under our 24-inch minimum. Solve this with a shallow monitor riser or laptop stand that adds vertical storage instead of horizontal depth, and keep a slim rolling cart beside the desk for anything that doesn’t fit on the surface itself.
The Lofted-Bed Setup
If your bed is lofted, your desk usually lives underneath it, which caps your ceiling clearance at 48–54 inches. Skip tall desk lamps and hutches here — go with a low-profile clamp lamp and open shelving mounted to the loft posts instead of the wall, since dorm walls rarely allow real anchors.
The Suite-Style or Apartment Dorm
More square footage means you can finally follow the full 24–30 inch depth rule with a freestanding desk, plus add a proper task chair instead of a stack-and-store option. This layout is the only one of the three where a corner desk genuinely earns its keep, since it uses the one dead zone every rectangular room has.
Choosing Your Desk: Size, Shape & Orientation


If your dorm didn’t come with a built-in desk — or the one it came with doesn’t hit our 24-inch depth rule — here’s how to shop for a replacement without guessing.
Measure First
Wall width, outlet distance, and door swing clearance — before you shop.
Anchor the Desk
Pick depth (24-30″) and width based on your measurements, not the photo.
Fit the Chair
Match seat height to desk clearance so knees sit at 90 degrees.
Raise the Screen
Add a riser or monitor arm to hit eye-level height.
Route the Cords
Sleeve or clip cables before anything else goes on the desk.
Light It
Add a warm-toned task lamp positioned to your dominant hand’s opposite side.
A wide, rectangular desk looks great in photos, but in a small dorm room it usually eats the only walking path you have. A compact corner desk or a fold-flat option solves that by using dead space or disappearing entirely when you don’t need it — the three picks below were chosen because each hits the 24-inch depth minimum without overwhelming a small footprint.
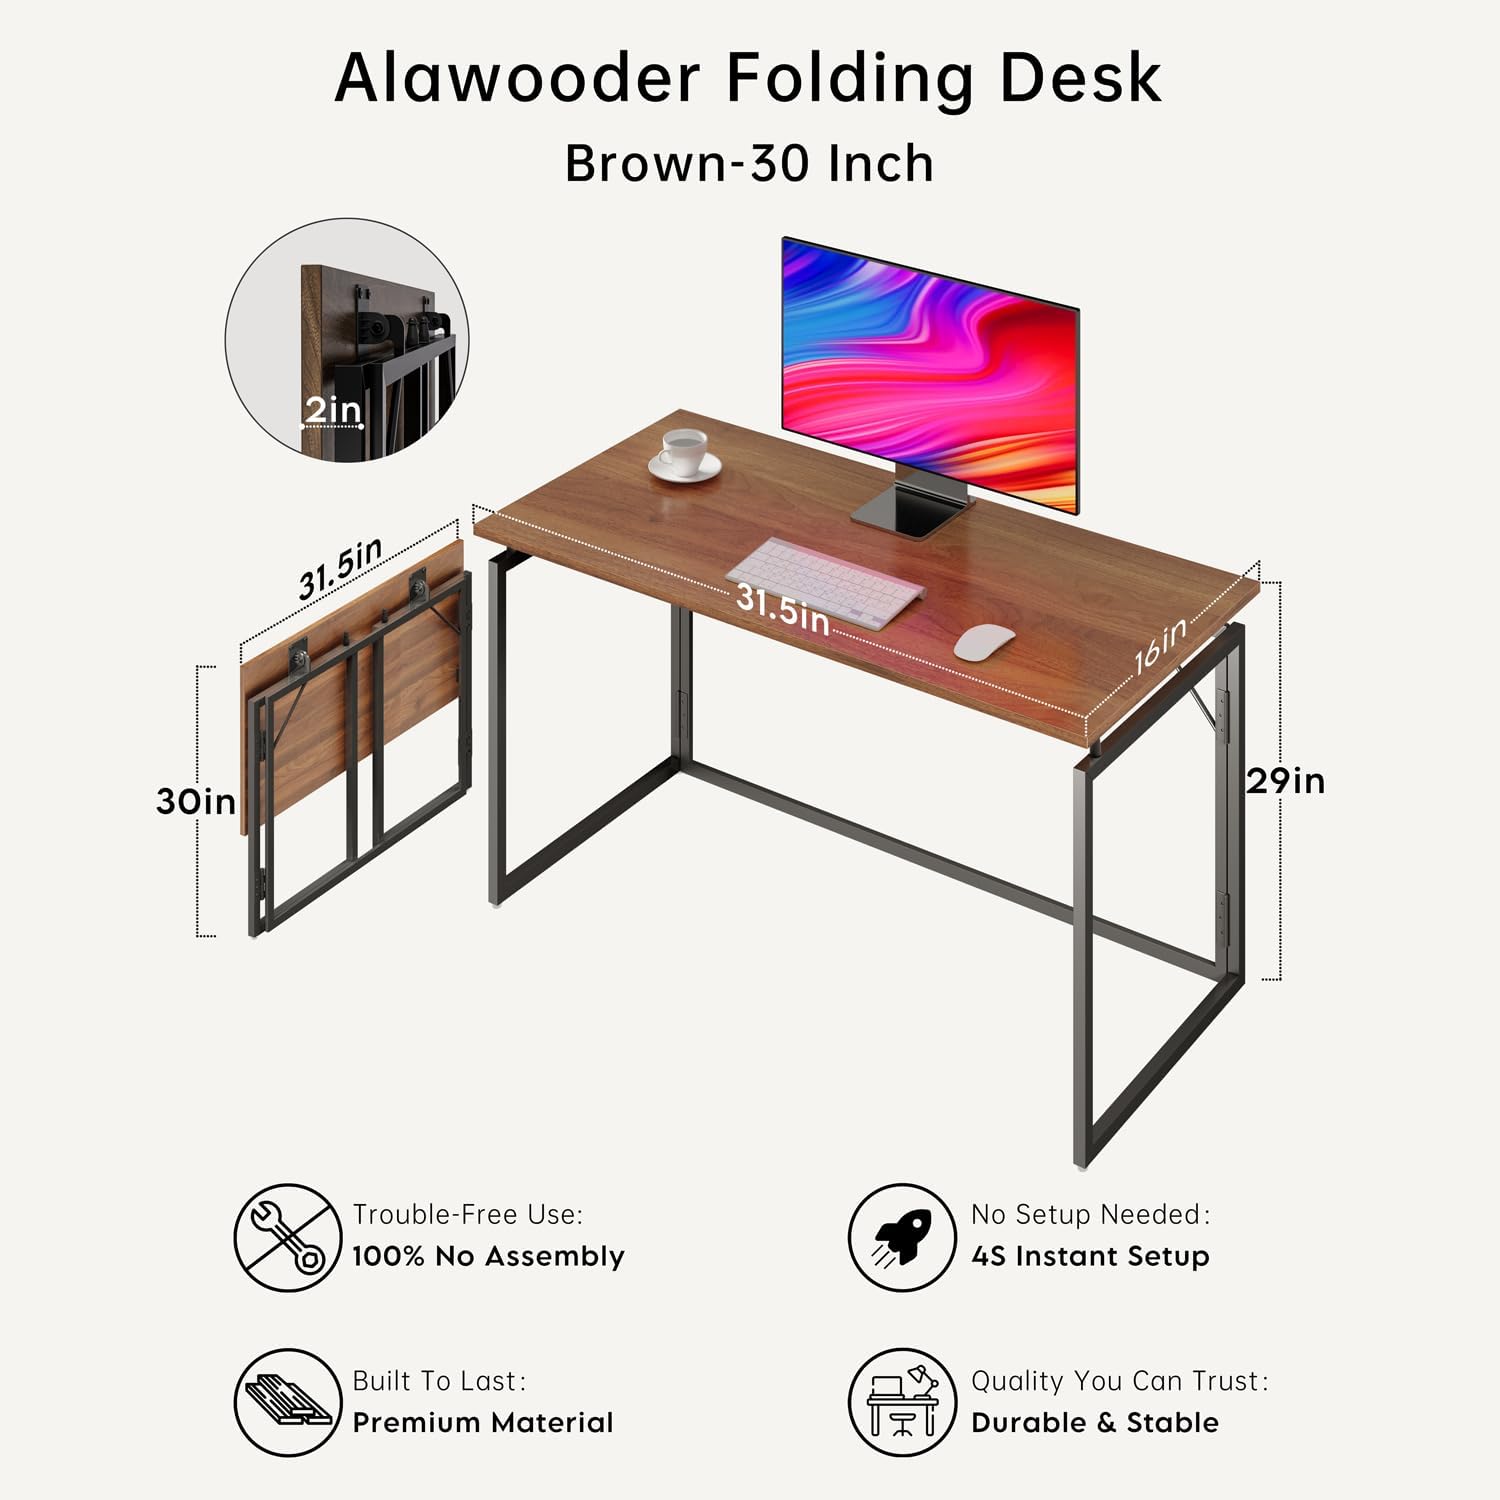
Best Budget Pick
Who it’s for: First-year students on a tight, one-time move-in budget.
Pros: Folds completely flat for move-out and storage, no tools needed to assemble.
Cons: Lighter-duty top won’t take the daily abuse of a permanent desk as well as laminate.
Designer take: This is the one I’d tell a client to buy if they’re not sure they’ll even keep the same major next year — low commitment, still hits the depth rule.
Best for: Standard single or shared dorm rooms.
Check Price at Amazon →
Best Overall Pick
Who it’s for: Students who’ll be at this desk daily for a full academic year.
Pros: Electric sit-stand adjustment, generous depth, sturdy frame for daily use.
Cons: Heavier — plan for help moving it in and out at semester’s end.
Designer take: This is the one purchase I’d tell a client not to cheap out on. It’s the only surface in the room you’ll touch every single day.
Best for: Suite-style and apartment dorms with more floor space.
Check Price at Amazon →
Best for Corners & Suites
Who it’s for: Suite-style or apartment dorms with an unused corner to claim.
Pros: Triangular footprint uses dead corner space, built-in hutch adds vertical storage.
Cons: Needs a genuine open corner — measure before assuming it’ll fit.
Designer take: This is the one desk shape on this list I only recommend once you have real corner square footage to give it.
Best for: Suite-style and apartment-style dorm layouts.
Check Price at Wayfair →The Ergonomics Formula: Chair, Monitor, Posture

A comfortable dorm desk setup depends on three adjustable points working together — seat height, armrest height, and screen height — not on any single “ergonomic” product working alone.
Why this works: Your body reads posture cues from the whole chain, not one joint. Fix the chair but leave the monitor low, and you’ll still end up hunching forward within twenty minutes.
- Laptop flat on the desk, screen 8″ below eye level
- Desk chair borrowed from the dining hall
- Feet dangling, no floor contact
- Laptop raised on a riser, top third at eye level
- Chair with adjustable seat height and lumbar support
- Feet flat on the floor, knees at 90 degrees
Standard-issue dorm chairs have zero adjustability, so they fit almost no one correctly. A chair with independent seat-height and lumbar adjustment lets you dial in that 90-degree knee angle regardless of your height — and if you’re working from a laptop, a riser closes the last gap between “adjustable chair” and “eye-level screen.”

Best Budget Pick
Who it’s for: Students who need one adjustment (height) fixed fast, without a big spend.
Pros: Adjustable height, breathable mesh back, flip-up armrests, built-in lumbar support.
Cons: Lumbar support is fixed rather than adjustable — fine for most builds, not everyone.
Designer take: This punches well above its price point for a first apartment or dorm chair.
Best for: Any dorm room on a strict furniture budget.
Check Price at Wayfair →
Best Overall Pick
Who it’s for: Anyone spending 4+ hours a day at their desk.
Pros: Independent seat, back, and lumbar adjustment; padded armrests; rated for up to 300 lbs.
Cons: Mid-range price point — the biggest single spend on this list.
Designer take: If you buy one “real” piece of furniture for your dorm, make it this. Your back will thank you by finals week.
Best for: Suite-style dorms and long daily desk use.
Check Price at Wayfair →
Best for Screen Height
Who it’s for: Laptop-only students without a separate external monitor.
Pros: Folds flat for storage, multiple height settings, doubles as a lap desk.
Cons: Requires a separate keyboard once raised, so budget for one.
Designer take: This single item fixes more posture complaints than any chair upgrade I’ve recommended.
Best for: Any laptop-based dorm desk setup.
Check Price at Wayfair →Lighting Strategy for Your Dorm Desk Setup

Layer your dorm desk lighting in two tiers — a warm, adjustable task lamp positioned on the opposite side of your writing hand, plus one ambient source (LED strip or plug-in sconce) to soften the overhead fluorescent most dorms are stuck with.
Why this works: A single overhead light creates harsh, flat shadows and makes a small room feel institutional. Two lower, warmer sources at different heights add depth and cut eye strain during late-night sessions — the same layering principle designers use in living rooms, just scaled to a desk.
Match bulb temperature across every source in the room — aim for 2700K–3000K (soft white). Mixing a cool white desk lamp with warm ambient lighting is the fastest way to make a small room feel chaotic.
Most dorm rooms only give you one or two working outlets, which rules out plug-in sconces near the desk. A clamp-on, gooseneck task lamp solves that by mounting directly to the desk edge without competing for outlet space — and it still hits the warm, adjustable-angle criteria above.
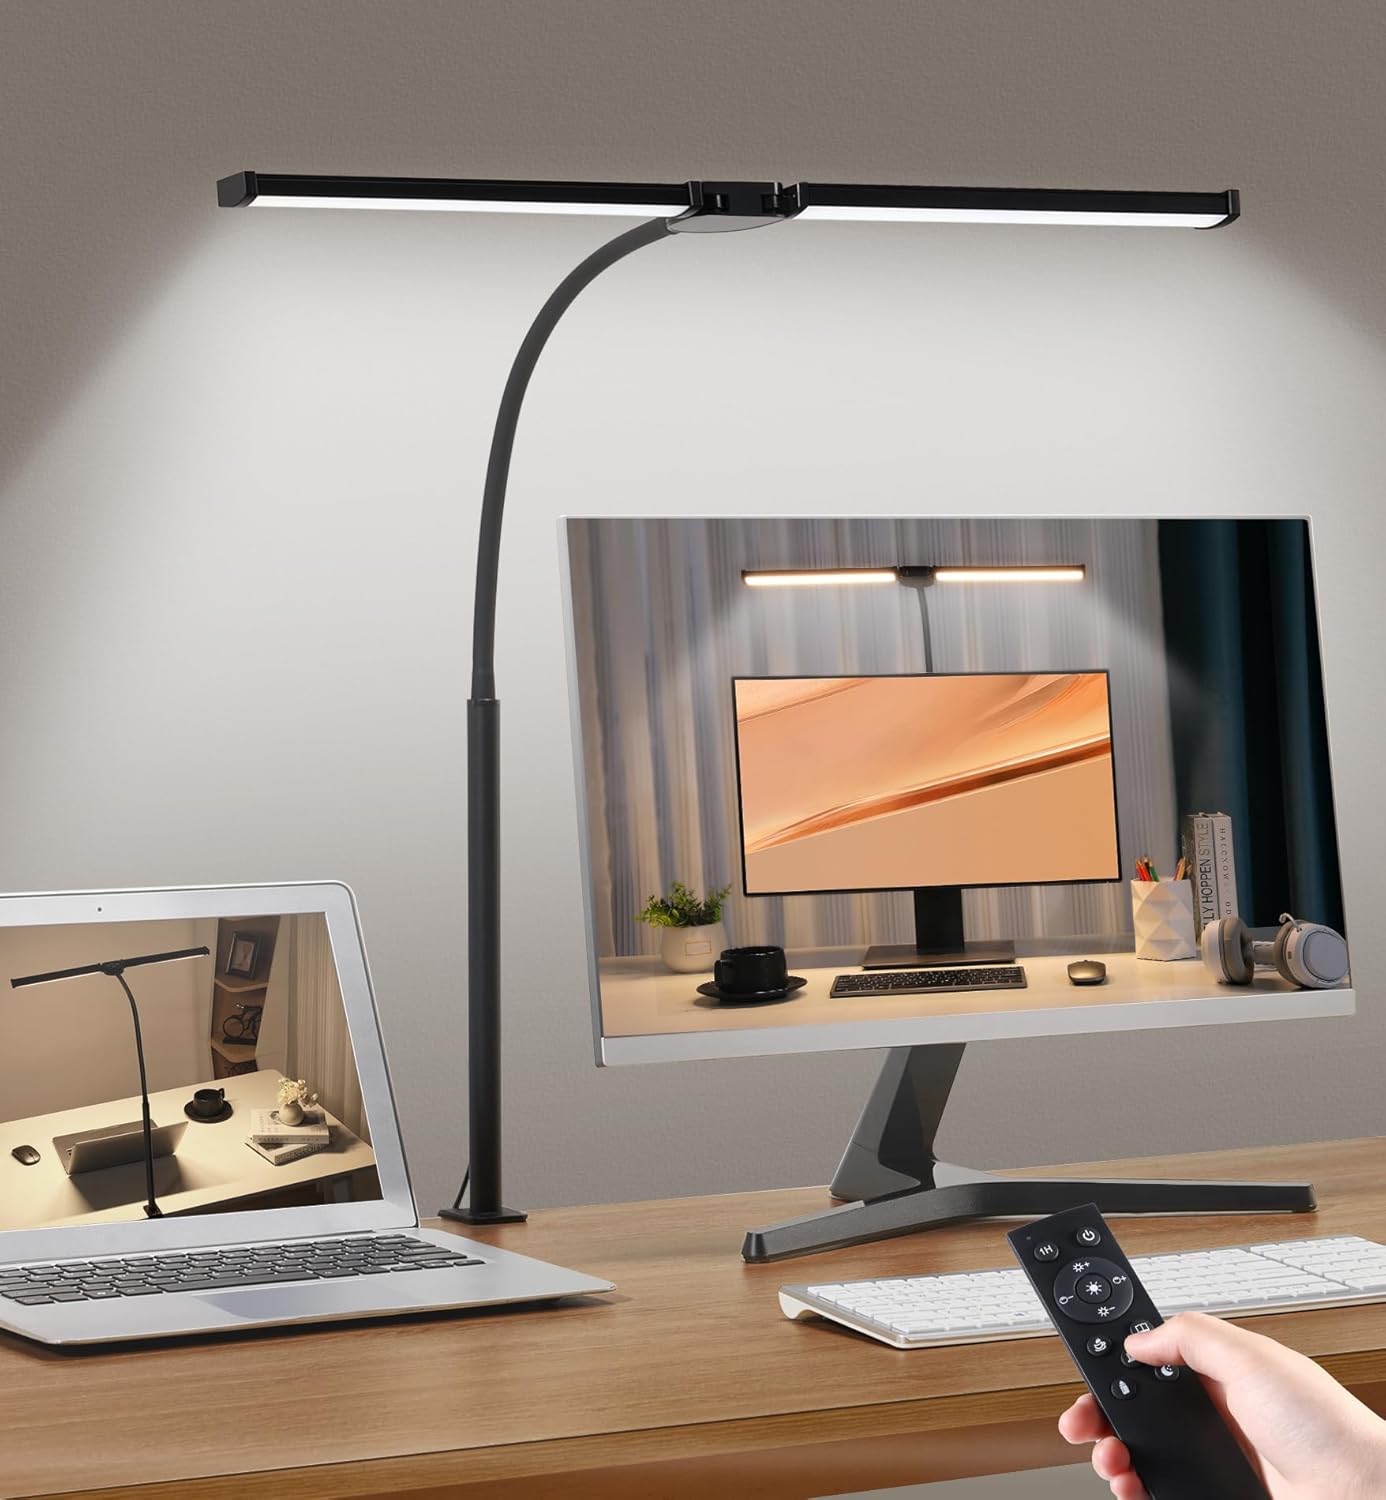
Best Overall Task Lamp
Who it’s for: Anyone studying past sundown, which is most of us.
Pros: Clamp-mount (no outlet competition), adjustable warmth and brightness, flexible gooseneck.
Cons: Clamp needs a desk edge under 2″ thick to grip properly — measure first.
Designer take: The adjustable color temperature is the real win here — dial it warmer at night, cooler for focused daytime work.
Best for: Every dorm desk setup, regardless of room type.
Check Price at Amazon →What to Put on Your Desktop

Style your dorm desktop in three zones — a work zone (laptop, notebook), a reach zone (pens, charger, water bottle) within arm’s length, and a single decor zone (one small plant or object) that doesn’t compete with either.
Why this works: This mirrors the 2/3 rule used in styling any surface — two-thirds function, one-third personality. Desks that feel “off” in photos almost always broke this ratio by adding too much decor to too little surface.
The Reach-Zone Rule
Anything you use daily — charger, pens, water bottle — should sit within 18 inches of your seated position, roughly the length of your forearm. Anything used weekly or less (extra notebooks, backup chargers) belongs in a drawer or shelf, not on the surface.
Do This
- Keep the front 6 inches of desk completely clear for elbow room
- Group small items in one tray instead of scattering them
- Pick one accent color and repeat it twice, max
Not This
- Lining the back edge with five different decor objects
- Stacking books flat as a “shelf” that eats your work zone
- Mixing metal finishes (gold lamp, silver organizer, black stand)
Storage That Doesn’t Eat Your Desk Space
Add storage vertically or on wheels — a desktop organizer or an under-desk rolling cart — before you ever consider a wider desk. Vertical and mobile storage add capacity without shrinking your already-tight floor plan.
A cluttered desk surface is almost never a “you” problem — it’s a missing-container problem. A stackable desktop organizer catches the small stuff that normally ends up scattered across your work zone, and a rolling drawer cart absorbs everything a fixed dorm desk was never built to hold.

Best Overall Storage
Who it’s for: Students with heavier textbook and supply loads on a shared or built-in desk.
Pros: Stackable compartments, small footprint, keeps the work zone genuinely clear.
Cons: Won’t hold larger textbooks — pair it with under-bed or closet storage for those.
Designer take: This is the piece that quietly fixes the “why does my desk always look messy” complaint. Everything gets a home.
Best for: Any dorm desk under 30″ wide.
Check Price at Amazon →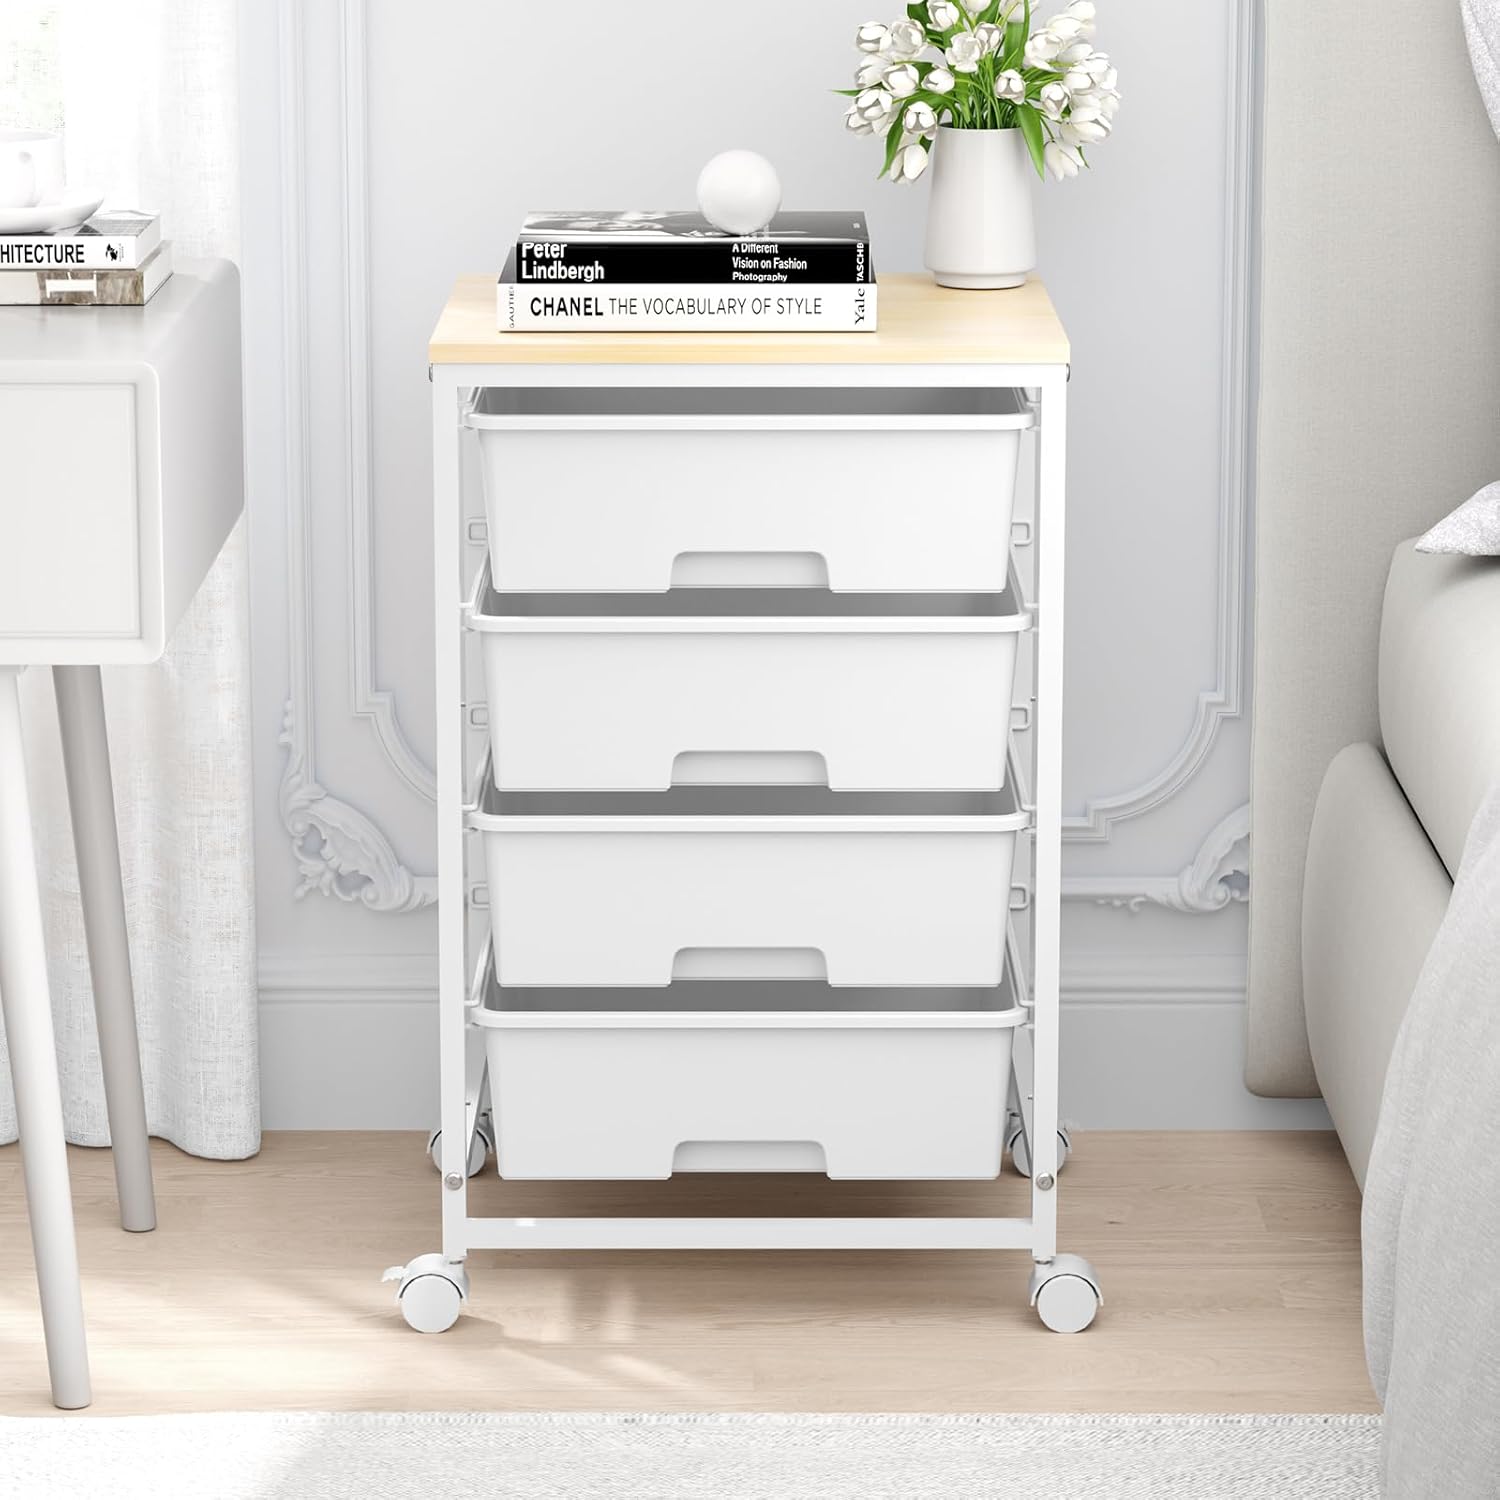
Best for Small Desks
Who it’s for: Anyone with a wall-mounted or built-in desk with zero drawer space.
Pros: Rolls fully under the desk when not in use, lockable storage, no assembly tools.
Cons: Utility-cart look — better tucked away than left in view for a styled shot.
Designer take: This is the cart I recommend most often for lofted-bed setups specifically, since it tucks completely out of sight.
Best for: Lofted-bed and built-in desk layouts.
Check Price at Amazon →Cable & Power Management
This is the step most dorm desk setup guides skip entirely, and it’s the one that determines whether your desk still looks good three weeks in. Most dorm rooms give you one or two outlets total, shared between your laptop charger, lamp, phone, and mini fridge — so the order you plan cables in matters as much as the furniture you buy.
Map your outlets first
Count what’s actually usable near the desk before buying anything with a cord.
Run one power strip, not three
A single surge-protected strip mounted under the desk keeps every cord in one place.
Sleeve cords before they touch the desk
A cable sleeve or binder clips keep cords off the visible surface entirely.
Label anything you’ll unplug often
Chargers and console cords especially — this saves you from crawling under the desk mid-semester.
Check your dorm’s fire safety policy before buying a power strip. Most colleges require one with built-in surge protection and ban daisy-chained strips outright.
Shop Your Dorm Desk Setup by Budget Tier
Decision paralysis usually comes from trying to solve the whole room at once. Instead, work in tiers — each one builds on the last without forcing you to rebuy anything.
| Budget | Priority Buy | What It Fixes |
|---|---|---|
| Under $75 | Laptop riser + desk organizer | Screen height and surface clutter — the two most common complaints |
| $75–$200 | Add a task lamp + rolling storage cart | Late-night lighting and missing drawer space |
| $200+ | Upgrade the desk or chair itself | Long-term comfort for a full academic year of daily use |
Anti-Patterns: Common Dorm Desk Setup Mistakes
These are the mistakes I see repeated across almost every dorm desk photo sent to me for feedback — and every one of them has a simple fix.
| Mistake | Why It Fails | Easy Fix |
|---|---|---|
| Buying the desk before measuring the room | Leads to a desk that blocks the door or window | Measure wall width, outlet distance, and door swing first |
| Skipping a monitor riser | Causes forward-head posture and neck tension | Add a $20-30 riser or laptop stand |
| Using command strips on cinderblock walls | Most adhesives fail on concrete or painted block | Use tension rods or freestanding shelving instead |
| Overloading the desktop with decor | Breaks the 2/3 function-to-decor ratio, feels cluttered | One plant or object, not five |
| Ignoring cable management until move-in day | Cords end up tangled and visible on day one | Sleeve or clip cables during setup, not after |
The Designer’s Cheat Sheet
Screenshot this before you shop. It’s the entire dorm desk setup math from this guide in one place.
- ◆24-30″ depth minimum
- ◆6″ clear front edge
- ◆Measure outlet distance first
- ◆90° knee angle, feet flat
- ◆Lumbar support if seated 3+ hrs/day
- ◆Adjustable seat height
- ◆Top third at eye level
- ◆15-20″ riser height as a starting point
- ◆Arm’s length viewing distance
- ◆2700-3000K warm bulbs everywhere
- ◆Task lamp opposite writing hand
- ◆One ambient source minimum
- ◆2/3 function, 1/3 decor
- ◆Reach zone within 18″
- ◆One decor object, max
- ◆2 outlets minimum, mapped first
- ◆One surge-protected strip only
- ◆Sleeve cords before they’re visible
Dorm Desk Setup: Frequently Asked Questions
Your Dorm Desk Setup, Simplified
A great dorm desk setup isn’t about finding the most aesthetic photo online — it’s about hitting three numbers (desk depth, chair angle, screen height) and building everything else around them. Measure your room, pick the layout that matches your dorm type, and layer in storage and lighting last.
Start small: fix your screen height this week, add the riser or chair adjustment, and let the rest of the setup follow. Every “after” photo in this guide started with someone doing exactly that.
Get the Full Formulas
If you want the full formulas, spacing rules, and layout math from this guide (and every other room in your home) in one place, grab The Designer’s SECRET Cheat Sheet — it’s the shortcut version of everything a designer checks before calling a room finished.
Get the Cheat Sheet →Follow Along @thedecorholic
And if you want more of this in your feed, come find us @thedecorholic on Instagram, Facebook, TikTok, and Pinterest for more room-by-room styling breakdowns like this one.
Ready to Build Your Setup?
Grab The Designer’s Secret Cheat Sheet for room-by-room formulas you can screenshot and shop against.
Get The Cheat SheetCATCH THE LATEST IN HOME DECOR TRENDS:

Steal These 16 Expert-Approved Decorating Secrets

Accessorize a Small Living Room: 7 Genius Styling Secrets

How to Make a Small Room Appear Bigger

How to Make Your Home Look Expensive
GET CAUGHT UP ON ALL THE INSPIRING DECOR TIPS:

Best Fireplace Makeover Ideas

How to Make a Gallery Wall: The Complete Step-by-Step Guide (Even If You’ve Never Hung a Picture)