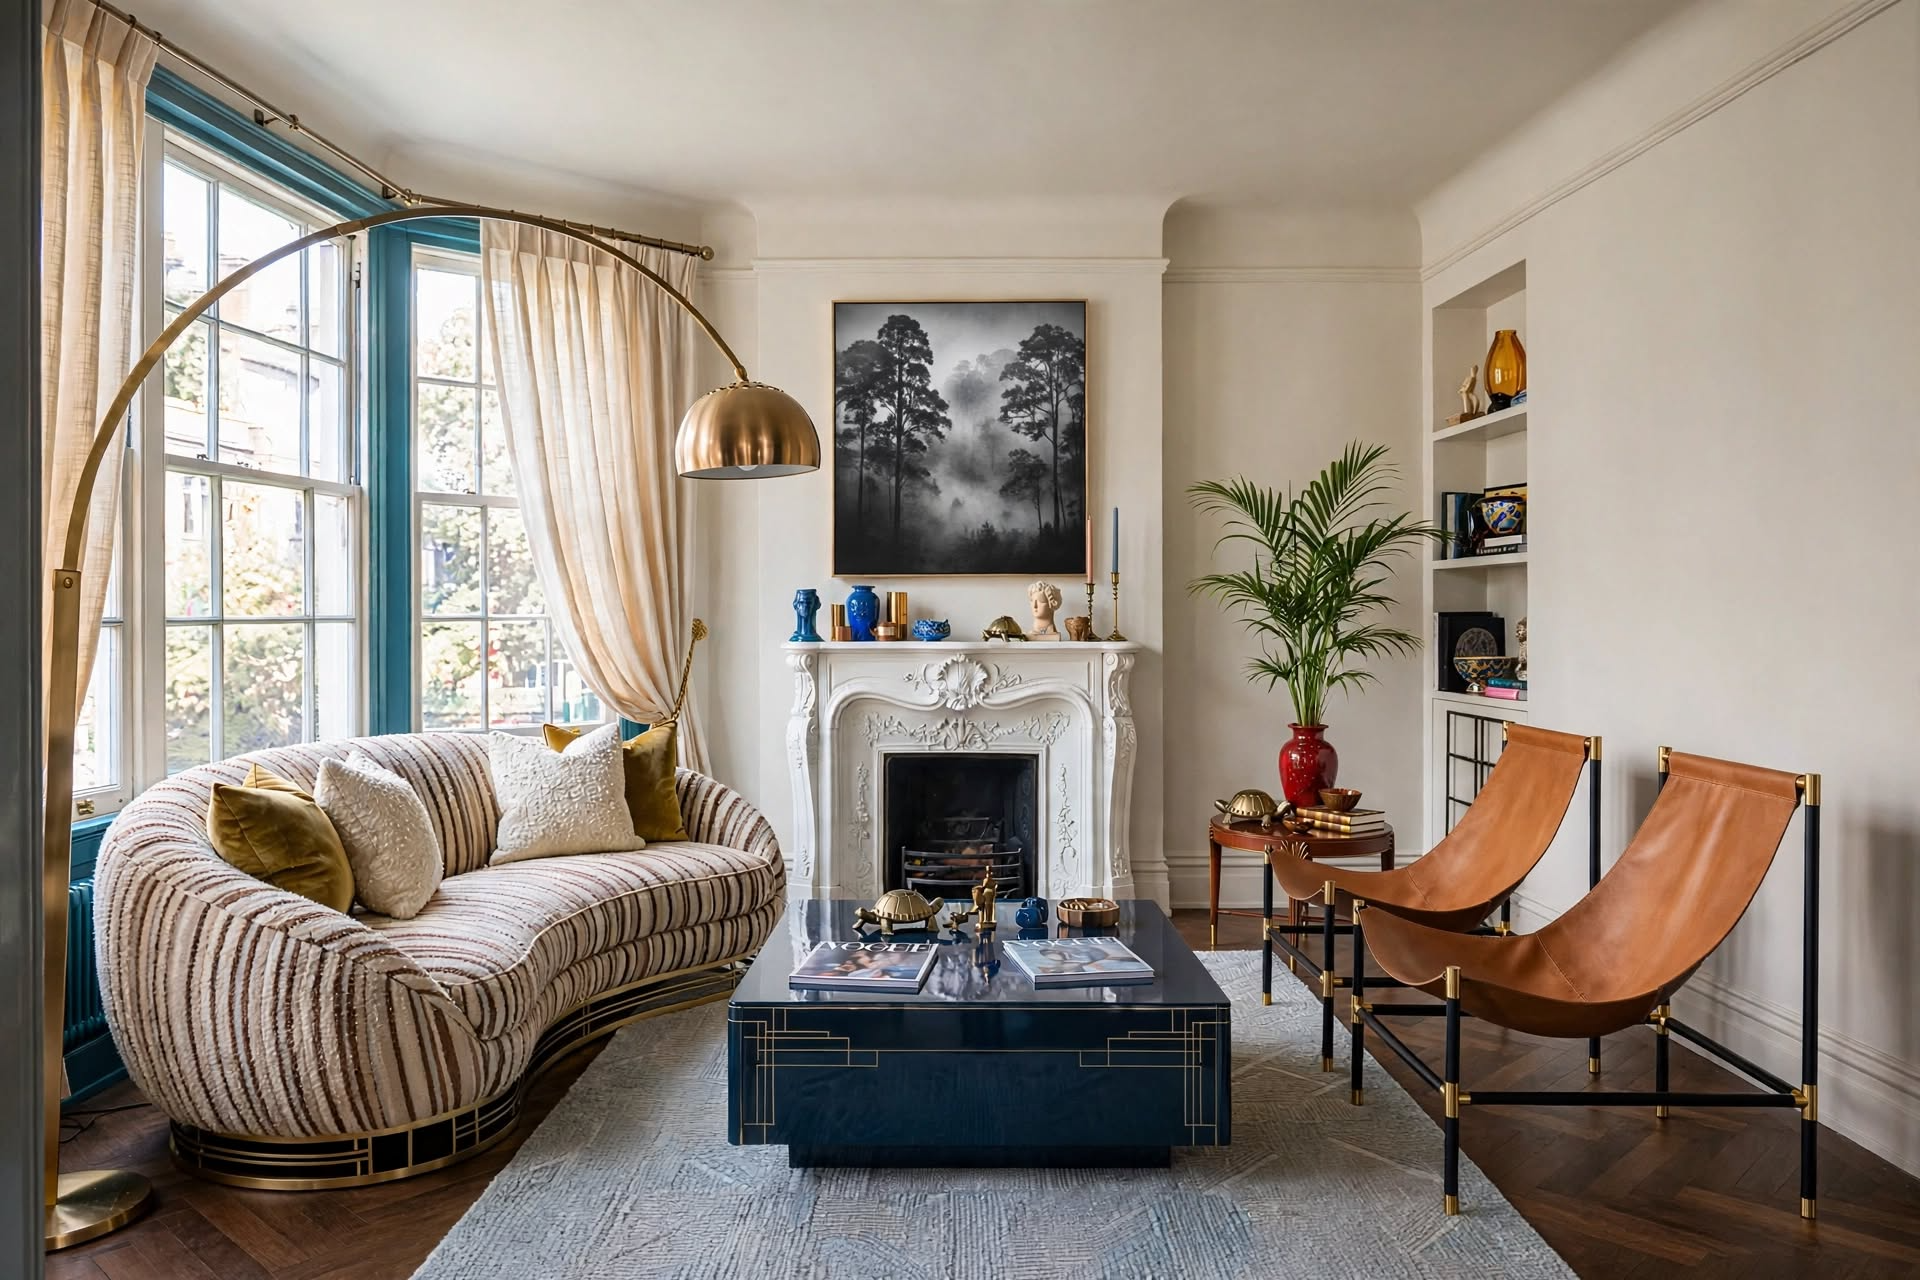
The best studio apartment layout ideas start with the bed, not the sofa. Anchor your bed against the wall farthest from the entry first, then build your living, dining, and work zones around it using rugs, lighting, and furniture placement instead of walls. Every measurement below is a real designer number you can use today.
Why Do Most Studio Apartment Layout Ideas Fall Apart in Real Life?
Studio apartment layout ideas are everywhere online, and almost none of them survive contact with an actual 400-square-foot room. You’ve seen the Pinterest boards. A gorgeous open-plan studio with a bed floating in the middle, a velvet sofa facing a window that doesn’t exist in your unit, and absolutely no mention of where your trash can goes. It looks great. It solves nothing.

Here’s the real problem: in a studio, every piece of furniture is doing double duty whether you planned for it or not. Your bed is also your reading nook. Your dining table is also your desk. If you don’t assign each zone on purpose, your studio assigns them for you, usually badly, and you end up with a room that feels crowded even when it technically isn’t.
I built my first real layout for a friend who moved into a one-room condo and wanted to buy almost twice the furniture the space could hold. We planned his zones before we bought a single thing, and furnished the entire condo on a $2,000 budget using only what each zone actually needed. That project is where the framework below came from, and it’s the same one I use on every studio I style.
This guide gives you the real designer blueprint: exact measurements for zoning, room-by-room breakdowns, lighting strategy, and the layout math that separates a studio that flows from one that just fits.
In This Guide
The Anchor-Zone-Flow Method: My Framework for Studio Apartment Layout Ideas
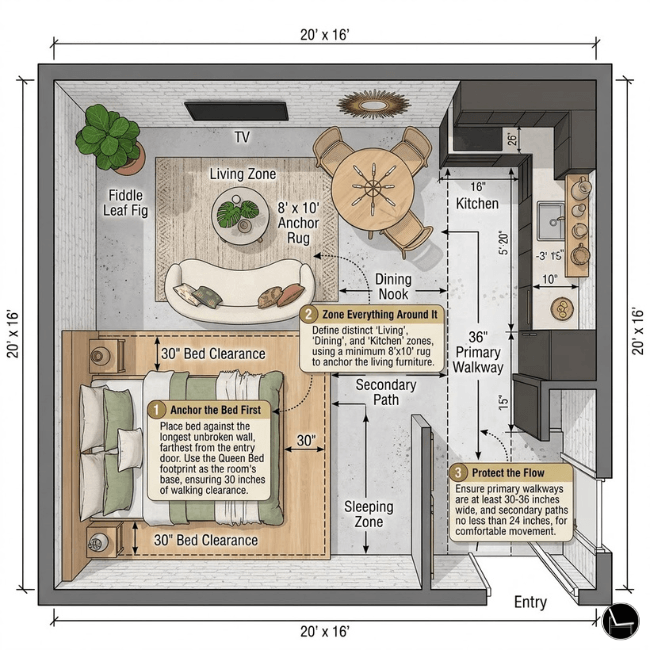
Every studio apartment layout idea I’ve ever styled comes back to the same three-step order, and the order matters more than the ideas themselves. I call it the Anchor-Zone-Flow Method.
Step 1: Anchor the Bed First
Your bed is the largest object in the room, so it decides the layout, not the other way around. Place it against the longest unbroken wall that sits farthest from your entry door. A bed that greets you the moment you walk in makes the whole studio read smaller, no matter how well you style everything else.
Leave a minimum of 30 inches of clearance on at least one side of the bed for walking and making the bed comfortably. Queen beds need roughly 5′ x 6’6″ of footprint including that clearance.
Step 2: Zone Everything Around It
Once the bed is set, work outward. Your living zone sits between the sleeping zone and the kitchen. Angle your sofa or loveseat slightly away from the bed rather than facing it head-on, this alone creates a visual break between “sleeping” and “living” without a single wall.
An 8′ x 10′ area rug under your living zone reads as a defined room. Anything smaller than 5′ x 7′ looks like a bath mat and won’t visually anchor the furniture around it.
Step 3: Protect the Flow
Flow is the invisible layer everyone skips. It’s the path your body actually walks through the apartment every day, and if that path is under 30 inches wide anywhere, the whole layout will feel tight even with plenty of open floor space.
Keep primary walkways at 30–36 inches wide minimum. Secondary paths (around a coffee table, into a closet) can drop to 24 inches, but never lower.
Room-by-Room Zone Breakdown

Sleeping Zone
Beyond the Anchor step above, treat the head of the bed like a mini bedroom wall. A slim console or open bookshelf placed perpendicular to the headboard, at the foot or side of the bed, creates a soft visual divider without touching a single wall.
Living Zone
Float your sofa slightly away from the wall rather than pushing it flush. A gap of even 4–6 inches behind it, with a slim console table in that gap, makes the zone feel intentional instead of leftover.
Kitchen and Dining Zone
Most studios put dining directly off the kitchen galley, so the goal is a table that earns double duty. A 30-inch round table seats two comfortably and pulls double duty as a desk during the day.
Entry and Work Zone
The entry is the most skipped zone in every studio apartment layout idea I see online, and it’s the one that saves you the most daily frustration. A narrow console or wall hooks right inside the door catches keys, bags, and shoes before they migrate into your living zone.
Lighting Strategy for Small Studio Apartment Layout Ideas

Zoning with furniture only gets you halfway. Light is what actually tells your brain “this is a different room.” A studio lit by one ceiling fixture reads as one flat box, no matter how well the furniture is arranged.
Task Lighting
A desk lamp and a bedside lamp signal “different activity happening here” faster than any rug.
Ambient Lighting
Swap the single overhead fixture for two or three floor and table lamps at varied heights around the room.
Accent Lighting
A plug-in sconce or LED strip behind a headboard or shelf adds depth after dark without an electrician.
Aim for one light source per zone minimum, at three different heights (floor, table, eye-level) per zone for the most dimensional effect.
Layout Ideas by Studio Shape

Not every studio apartment layout idea works for every floor plan. The shape of your room changes which zoning moves actually work.
| Studio Shape | Best Zoning Move | Avoid |
|---|---|---|
| Long & Narrow | Arrange furniture lengthwise in a single visual line; use a rug runner to connect zones | Placing furniture crosswise, it chops the room into narrow, awkward slices |
| Square / Open Box | Use rugs and a floating sofa to carve out distinct zones since there’s no natural hallway effect | Pushing all furniture to the walls, it leaves a dead, unused center |
| L-Shaped / Awkward | Use the “leg” of the L as a dedicated sleeping or work nook | Ignoring the nook, wasted square footage is the most common studio mistake |
Real Studio Apartment Layout Ideas by Square Footage
The Anchor-Zone-Flow Method scales up or down, but the exact moves change with your square footage. Here’s how the same studio apartment layout idea plays out at two common sizes.

The Micro Studio
~300 sq ft. Skip the divider furniture entirely and let the Anchor-Zone-Flow Method work at its smallest scale.
Anchor: Bed in the back corner, out of the entry sightline
Zone: A 5’x7′ rug at the foot of the bed defines the living zone; a slim 24-inch bar cart doubles as kitchen counter and dining spot

The Full-Size Studio
~500 sq ft. Enough room for the complete Anchor-Zone-Flow layout, with a dedicated zone for every activity.
Anchor: Bed on its own wall with a full 30-inch clearance
Zone: An 8’x10′ rug under a proper sofa and coffee table, plus a dedicated 20-inch desk in the entry zone; a freestanding shelf earns its keep as a room divider
What NOT to Do With a Studio Apartment Layout
Do This
- Place the bed first, then build zones around it
- Float furniture off the walls to create depth
- Use one rug per zone to visually separate spaces
- Layer three light sources per zone
Not This
- Push every piece flush against the walls “for space”
- Let the bed face the entry door
- Use one rug for the whole room
- Rely on a single overhead light for the entire studio

Designer’s Cheat Sheet: Spacing Formulas & Layout Math
Anchor
Bed against the farthest wall from the entry, 30″ clearance on one side
Zone
8’x10′ rug per zone, sofa angled away from the bed
Flow
30–36″ primary paths, 24″ minimum secondary paths
- ◆Primary walkway: 30–36″
- ◆Secondary walkway: 24″ min
- ◆Dining chair pull-out: 36″
- ◆Living zone: 8’x10′
- ◆Under a queen bed: 8’x10′, extending 24″ on each side
- ◆Avoid anything under 5’x7′
- ◆Room divider console: 30–34″
- ◆Coffee table: 2″ below sofa seat height
- ◆Entry console depth: 10–12″ max
- ◆1 fixture minimum per zone
- ◆3 heights per zone: floor, table, eye-level
- ◆Warm bulbs (2700K–3000K) for cohesion
Ready to Plan Your Studio Apartment Layout?
Grab the free style quiz to find furniture and colors that actually fit your footprint.
Take the Style QuizYour Studio Apartment Layout Is a Formula, Not a Guessing Game
Every studio apartment layout idea in this guide comes back to the same order: anchor the bed, zone the room, protect the flow. Get that order right, and the rest of the decisions, the rug sizes, the lighting, the console height, fall into place a lot faster.

You don’t need a bigger apartment to get this right. You need a plan before you buy anything, and now you have one, a repeatable studio apartment layout you can use in any rental, any square footage, any shape of room.
If you want the full formulas, spacing rules, and layout math from this guide (and every other room in your home) in one place, grab The Designer’s SECRET Cheat Sheet — it’s the shortcut version of everything a designer checks before calling a room finished.
And if you want more of this in your feed, come find us @thedecorholic on Instagram, Facebook, TikTok, and Pinterest for more room-by-room styling breakdowns like this one.
Studio Apartment Layout Ideas: FAQ
CATCH THE LATEST IN HOME DECOR TRENDS:

Steal These 16 Expert-Approved Decorating Secrets

Accessorize a Small Living Room: 7 Genius Styling Secrets

How to Make a Small Room Appear Bigger

How to Make Your Home Look Expensive
GET CAUGHT UP ON ALL THE INSPIRING DECOR TIPS:

Best Fireplace Makeover Ideas

How to Make a Gallery Wall: The Complete Step-by-Step Guide (Even If You’ve Never Hung a Picture)